
Once again, I am writing about a scenario that I played over a year ago. That is a good thing overall to me, because it means I am playing ASL more than I am writing about ASL. I enjoy both of course, but I enjoy playing more.
This is a unique Schwerpunkt scenario, designed by Mike Augustine, that taught me a little WW2 history that I did not know. The scenario takes place in France during September 1944. The two sides in this action are both SS units. One side is a Ukrainian SS unit and the other is a Cossack SS unit. While the Ukrainians were in France, they decided that fighting French partisans wasn’t for them. They mutinied and then offered their services to the partisans. They had already earned the trust of the partisans by preventing some retaliatory executions of French civilians. Soon this Ukrainian unit was attacking German rear area units, which led the Germans to send yet another non-German SS unit to subdue the Ukrainians.

There is a timeliness to finding this scenario to write about now. The Canadian government recently committed a major faux-pas while Ukrainian president Zelensky was visiting our parliament. During the visit, the Speaker of the House arranged to have a Ukrainian WW2 veteran present to be honoured for his service. Less than 24 hours after the visit, the news media had discovered that the veteran had fought with the German SS. Oops! Apologies were issued soon after, and the Speaker resigned.
This scenario expects the players to own both the blue SS counter set and the black set. It also expects one to own the rules for the module A Bridge Too Far, because it specifies to use rules R6.2 and R6.21 for ELR replacement and battle hardening.
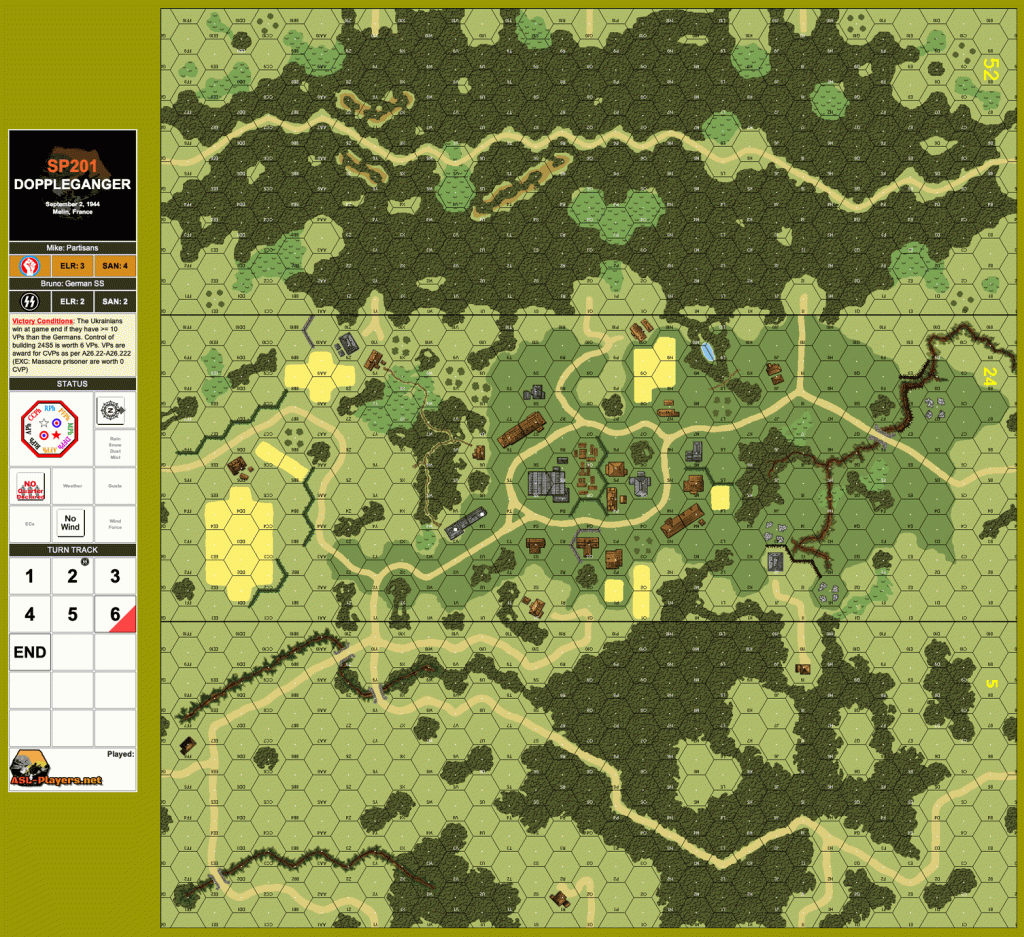
The Ukrainians use the blue counters by SSR, maybe because according to the scenario story, the soldiers died their uniforms blue. The scenario uses boards 5, 24 and 52 with most of the action taking place on board 24.
The defending German side has a hodgepodge of SS units representing a Cossack unit: 2×658, 6×548, 8×447 and 1×237 HS led by a 9-1, 8-0 and 7-0. They have 4 LMG and a MMG as SW. They also have one squad size horse counter. They receive reinforcements on turn two of 1×548, 2×448, 8-0, and LMG that enter mounted on horseback. The at-start troops are also holding two HS prisoner units, representing captured partisans. They, and their guard, start the game with a “No Move” counter that stays until the guard routs or the German player makes a dr ≤ the turn number. The attacking Ukrainians have 6×658, 6×548 led by a 10-2, 9-1 and 8-1 with a HMG, MMG and 5 LMG for SW. They also have 9x? in their OB.
The victory conditions are based on victory points that include CVP, but also include building 24S5 being worth 6 VP. Prisoners are still worth double CVP, but massacred prisoners are worth nothing. The Ukrainian side must amass ≥ 10 VP more than the German side at game end. The game length is 5.5 turns.
The German side is restricted to setting up within six hexes of hex 24Q6 and to having no more than one MMC per hex. After playing the scenario, we both agreed that the buildings south of the loop road are a bit of a death trap for the Germans because of the rout/withdrawal difficulty. Someone needs to set up there to slow the Ukrainians, but perhaps no SW. My opponent had several units on level one, a necessity I believe; I would have put a unit in the P7 woods as well.

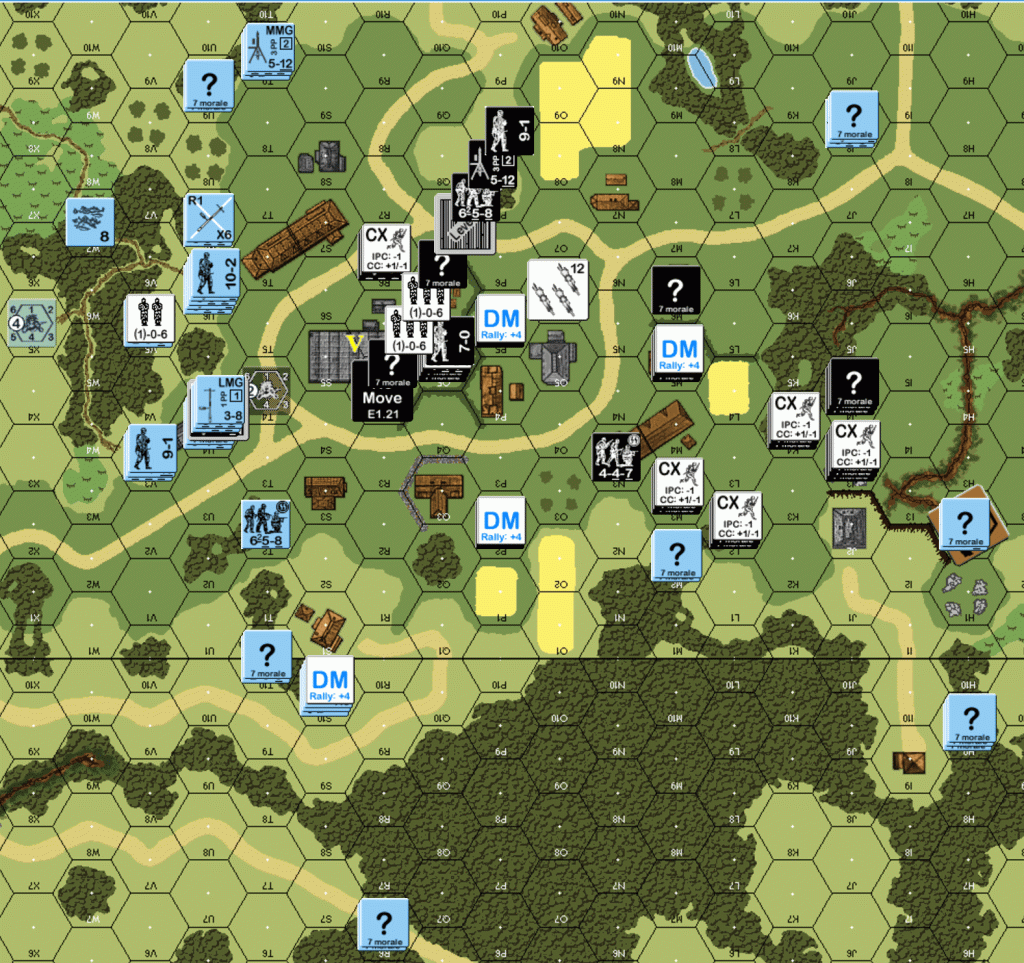
The Ukrainian side has a setup area that allows them to approach the Germans from three sides. By SSR, the Ukrainians can set up concealed in concealment terrain, and they spend 1.5 MF to move through woods hexes. I had the Ukrainians. I used their setup area to setup for encirclement opportunities on level one Germans and to be able to move units into good positions to interdict the German reinforcements. Here is the Ukrainian setup before they became concealed.

Ukrainian turn one: the only Prep fire was a 9-1 directed squad and HMG shot at a German squad, which had no effect. A lot of units were able to assault move concealed next to the forward Germans. Several HS did reckless things to strip German concealment. A few units moved to interdict the German reinforcements that would later enter from the north. Some dummies pretended to protect the east flank road. Advancing fire encircled one German unit and broke another that then had to surrender. Close combat with 2 to 1 for the Ukrainians in 24U4 resulted in a German casualty reduction and melee.

German turn one: only one unit Prep fired to no effect. Overall, the Germans evacuated the buildings south of the loop road as best they could, which had mixed results. Some made it, some didn’t. Other units moved to bother the Ukrainians that had moved to interdict the reinforcements. The melee in 24U4 ended in Ukrainian victory.
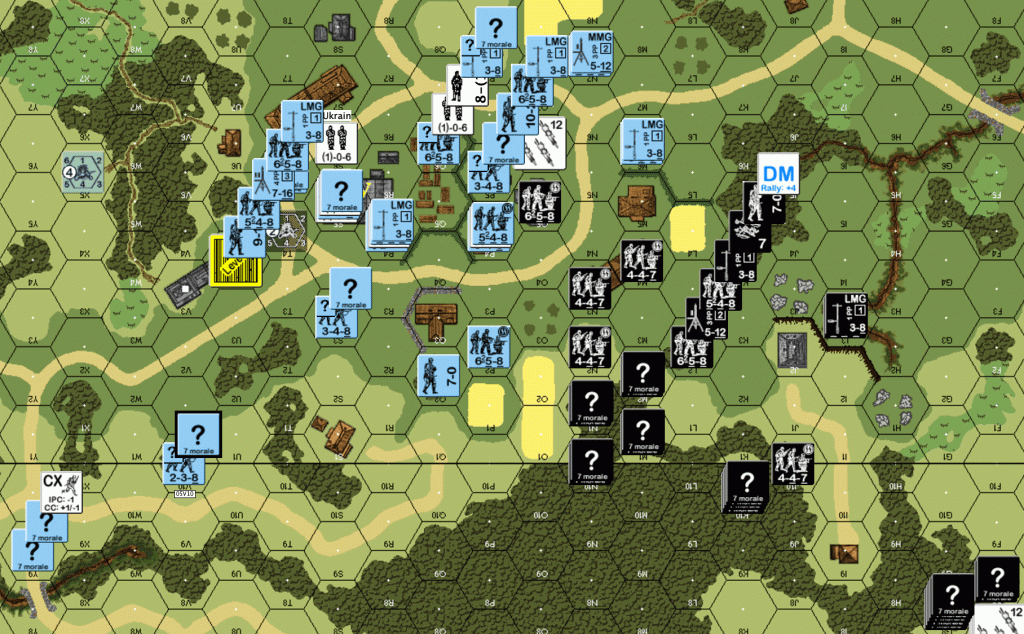
Ukrainian turn two: no Prep fire because most of the Germans are out of LOS. A lot of units approached the 24S5 victory building; most of them made it. Advancing fire from them and others broke the Germans in that building, including the guard of the partisan prisoners. It also casualty reduced the prisoner units. During the rout phase, by SSR the routing guard abandoned its prisoners, which is normally illegal. At the end of the turn, the Ukrainians controlled the 24S5 building. Including CVP, the Ukrainians were at 11 VP to 1 VP for the Germans.

German turn two: their reinforcements set up to use the east flank road. Ukrainian units covered the quickest route into the village. The Germans have a good rally phase, bringing back 3.5 squads. They make a few moves to check out the Ukrainian dummies on the east flank, but they can’t reach all of them. My opponent decided to move most of the Germans that were inside of the loop road to outside of it; two units break to first fire during the moves. Some units move to higher ground and creep towards the Ukrainians. The reinforcements come in using the east flank road, but do not go very far. They dismount to threaten a Ukrainian dummy. Had I been the Germans, I would have risked a couple of mounted half squads galloping down the flank road to investigate the possibility of a flanking attack.

Ukrainian turn three: No Prep fire. The 10-2 and several other units work to clear the Germans that remain inside the loop road. Seeing some Germans moving towards the village on the high ground, I send two squads with a 9-1, LMG and HMG to make a high firebase in the 24U4 building. Far away units moved to reinforce or protect the Ukrainians in the loop road. I wanted to keep the six point victory building. German defensive fire is ineffective. German defensive fire reveals the farthest Ukrainian dummies. Ukrainian advancing fire breaks the German 9-1 leader inside the loop road, forcing it and a broken HS to surrender. With these new prisoners, the Ukraine side has 19 VP; the German side has 2 VP.
German turn three: the Germans do a small amount of Prep fire to help the remaining German squad inside the loop road get out. The fire is ineffective, but the squad gets out unbroken anyway. The German consolidates the valley troops with the reinforcements in the eastern woods. At the end of the turn, my opponent evaluated the situation and decided to concede.
Our playing of this scenario doesn’t show it off as balanced and exciting, but I believe that with a better German setup, the scenario can be both. I would try putting units in every hex within the loop road so that on German turn one, they could safely reinforce the 24S5 victory building. Its 6 points cause a swing of 12 points when lost. Besides the 6 points for holding it, the Ukrainians are more likely to take casualties if the Germans hold it longer, which also helps the Germans. The German player needs to position and protect the prisoners and their guard better than my opponent did. ROAR shows 4 Ukraine victories to 3 German, with a recommendation of 5.12. I would rate it a six.
Discover more from Low Ammo
Subscribe to get the latest posts sent to your email.

Nice writeup!! Not everyday when we see SS vs SS!
LikeLike
Good AAR, and thanks for playing my scenario design. Sorry to hear that it the Black SS Germans had a rough go. Schwerpunkt Vol. 17 has the scenario analysis for SP201, which includes tips for both players. As you mentioned the German “black SS” needs avoid crossing the road by setting more within the alamo circle. The Germans need to make the “Blue SS” cross that scary road more than themselves. The Germans should deploy and have a softer trip line (i.e., half squads). Even setting up on the road is a viable option – poor TEM, but easy routing back. The key is defending the VC building and prisoners, which includes retreating those forward troops back in the circle (potentially throwing smoke to cover) immediately.
LikeLike