
I had this scenario on my play list because it featured a Chicomm recon unit. A unit designated as such is not required to use Infantry Platoon Movement. I thought that would be liberating. The scenario also has Centurion tanks which I was anxious to see in a scenario.
Evan Sherry designed this meeting engagement scenario that is set in South Korea during April of 1951. Belgian infantry supported by three British Centurion tanks probe northwards while Chicomm infantry probe southwards.
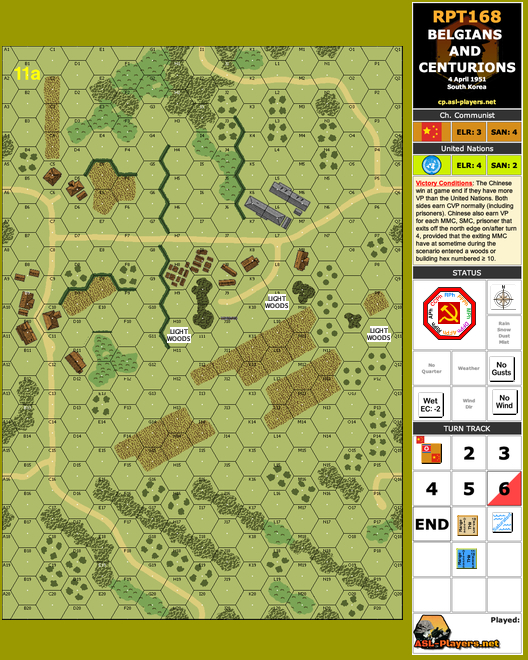
The victory conditions require both sides to try for VP. CVP count normally for both sides. The Chicomm units can obtain extra points for units that reach buildings or woods having a coordinate of at least ten and then run back off the north edge where they came from.
This scenario plays fast because neither side has a lot of units. The CVPA have six squads, one crew and two leaders with one LMG, a DC and a BAZ 44. They also receive six concealment counters. The United Nations side has seven Belgian squads, two leaders, two LMG, a BAZ 50 and three Centurion tanks. The tanks, however, are not as powerful in this scenario as one might expect, because their HE is limited; HE8. They also have only a CMG with 4 FP.
Here is the map.
Something that makes this scenario different from average is that both sides start offboard. In turn one the CVPA get to run as far as than can without any worry. Then the OUNC forces can do almost the same because of the short range of the Chicomm units. When I entered the OUNC forces, I was trying to prevent the Chinese forces from reaching hexes numbered ten. This was a mistake. I believe now that I needed to push the tanks behind the Chinese to prevent them from easily exiting. Here is the situation after one game turn.
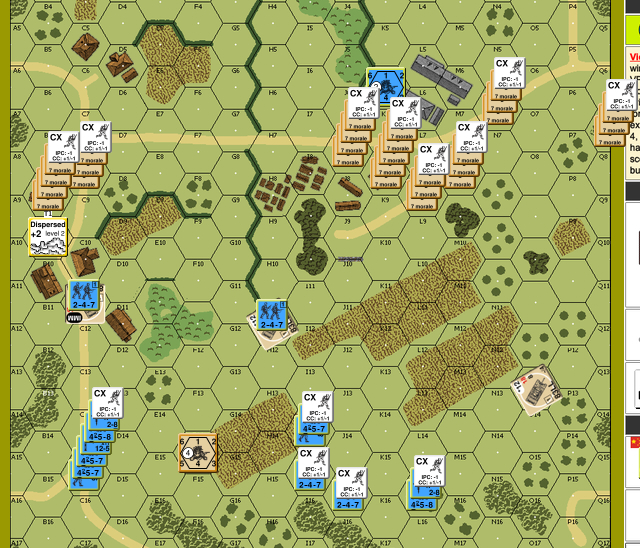
I compounded my bad plan by doing an ESB on the left Centurion so I could unload the rider. I thought, without thinking a lot, that being immobilized there would be okay because the tank would be adjacent to two victory hexes. I also forgot that I could have spun the turret to force the rider to bail out.
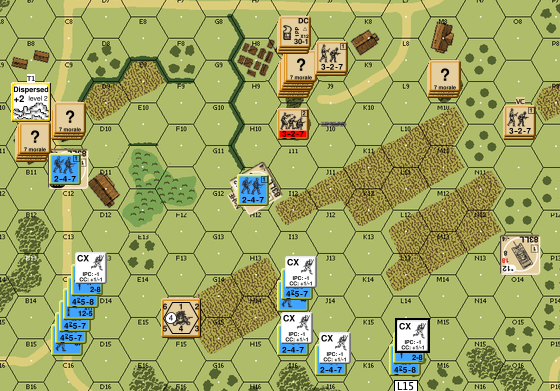
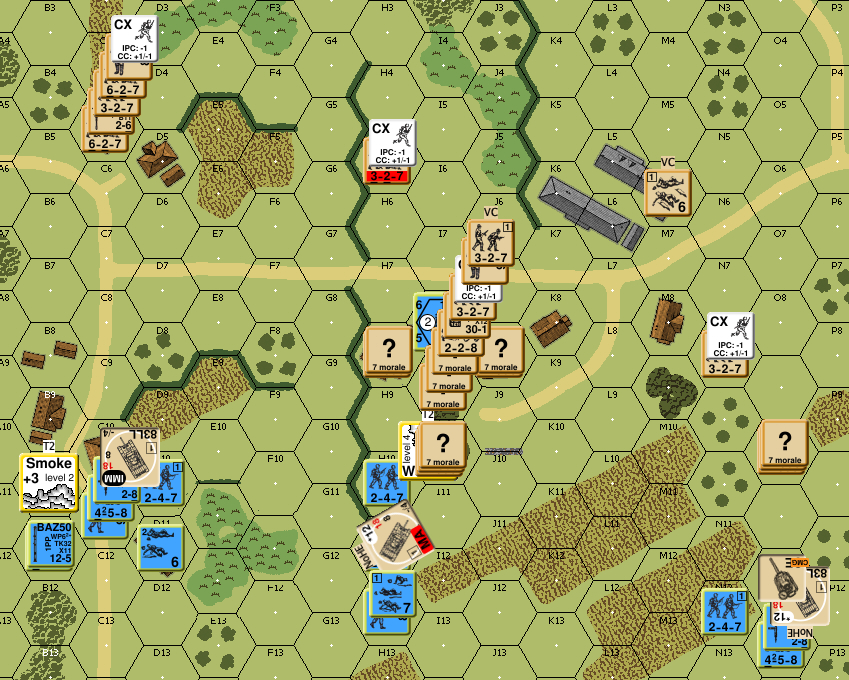
The Chicomm were not deterred from reaching some victory hexes, although the Belgians fired at a few of them. Here is the situation at the end of Chicomm turn two.
The Belgians approached under the cover of smoke and WP. Their goal now was to be close enough to damage the Chicomm as they retreated.
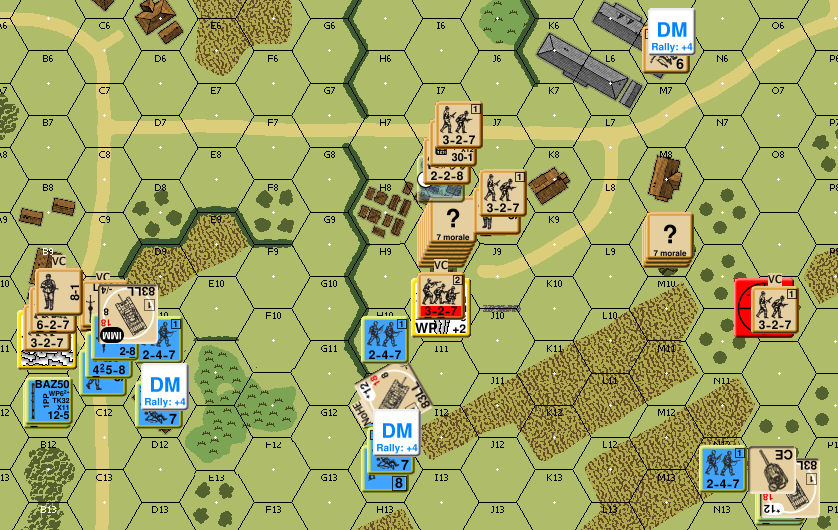
Despite the cover and short range of most Chicomm weapons, a few Belgians broke under fire. The Chinese started their withdrawal. One Centurion broke its MA shooting at them; another broke its CMG.
In the following UN turn, I had nothing repair and only a leader rallied. It seemed like a lost cause at that point; I conceded.
I believe the tanks must move to get behind the Chinese, but that action is not without risk because of the Chinese BAZ 44. Riders would also be in danger. On the plus side, there is only one Chinese bazooka. Proper planning would probably insure that only one tank could be hit; and the bazooka needs a side hit to have a chance of penetration. Having the tanks behind the Chinese would also create rout difficulties for the Chinese.
Discover more from Low Ammo
Subscribe to get the latest posts sent to your email.
