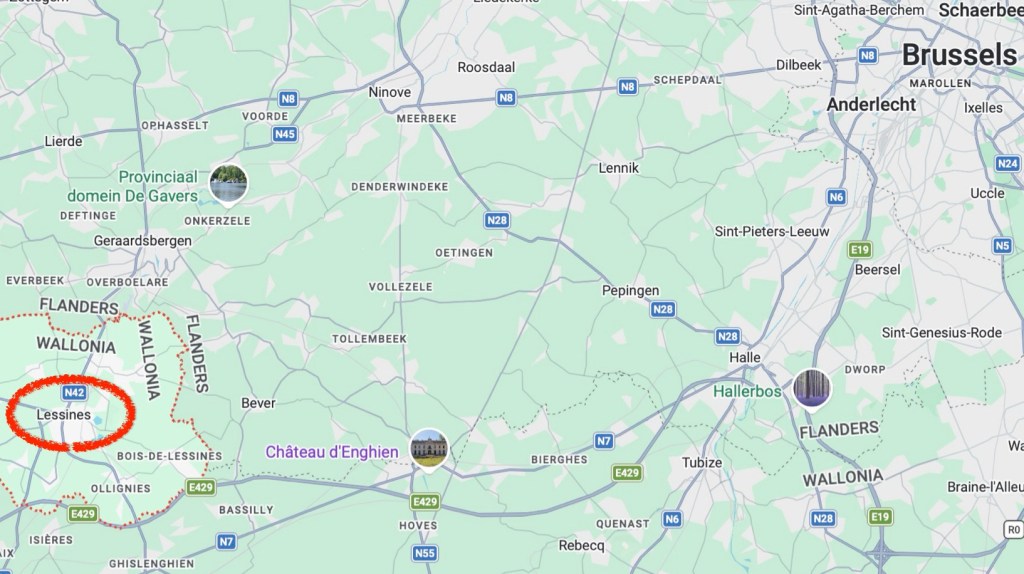
This scenario attracted my interest for its unusual historical situation. It is designed by the late Ian Daglish. The scenario takes place in September of 1944 and a bunch of British mechanics find themselves being attacked by German infantry and armour. Belgian partisans interfere with the Germans before the Germans reach the British. The action takes place in Lessines, Belgium just west of Brussels. Board 20 fills the role for the match.
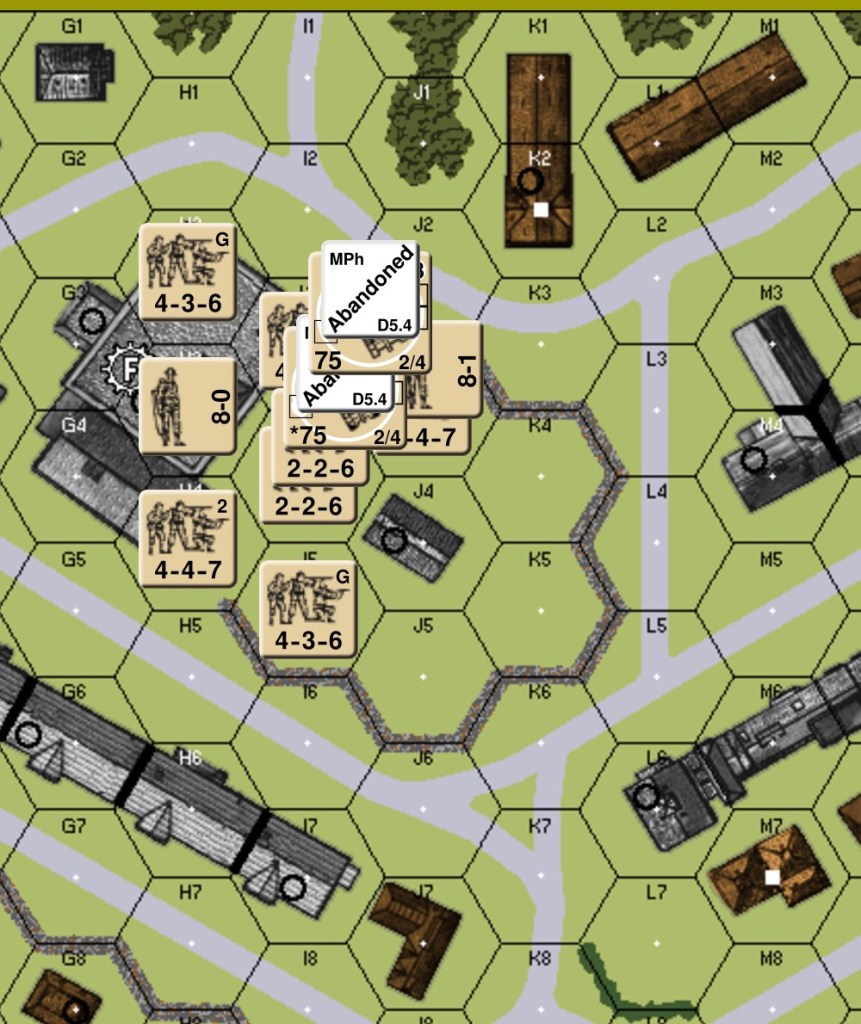
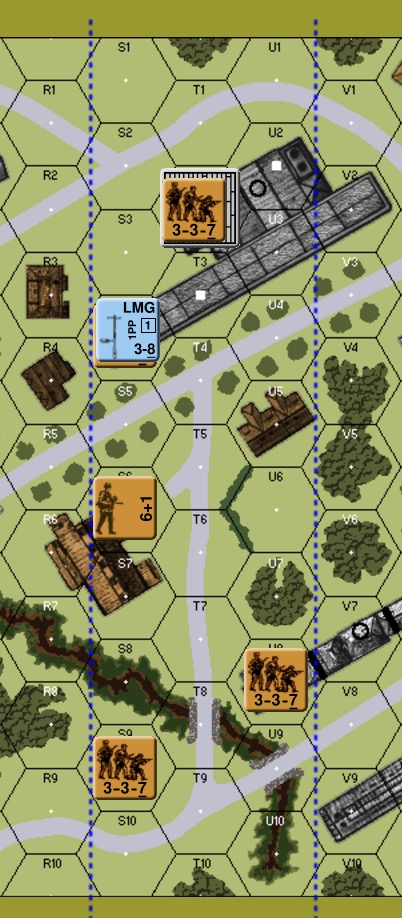
The Belgian partisans are a weak force of four 337 squads, a 6+1 and one LMG. They have only three hexrows of the map where they can set up, but they all can use HIP and they have Molotov cocktails. The Light Aid Detachment has a limited set up area near a factory. They consist of two 447, three 436, two 226 HS, an 8-1 and 8-0. Most importantly, they also have two abandoned tanks; a Sherman V and a Cromwell IV. The fun for the British player is putting the mechanics into the tanks. A SSR states that the mechanics drive the tanks as if they have a red MP. All the tank weapons have B11/X12. The mechanics fire the MA using red TH numbers.
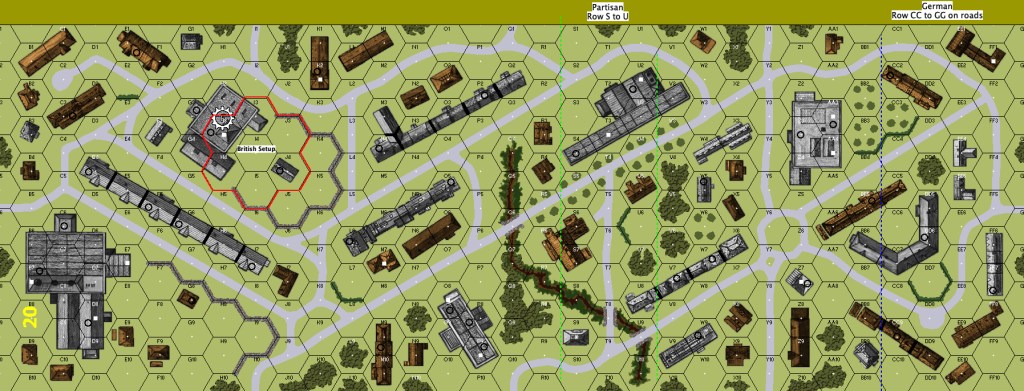
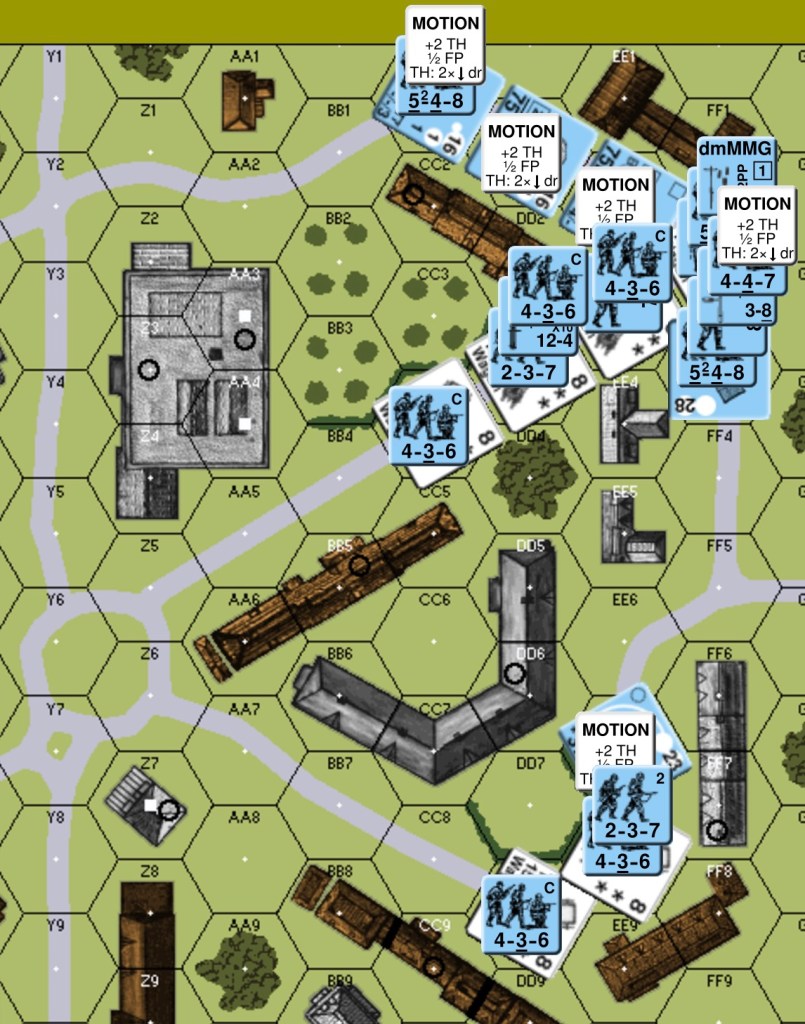
The German force also interested me for, of all things, their wagons. I don’t see wagons very often, so that was an attraction for me. The Germans must set up as passengers which will require them to deploy one squad. The Germans have three 538, two 447, five 436, an 8-1, a MMG, a LMG and a PSK. Their vehicles are the aforementioned six wagons, an Opel Blitz, a Marder III, a SPW 251/9, a SPW 251/1 and a 3.7cm flak truck. It is quite a hodgepodge of units, if you ask me. Their setup instructions put them in road hexes on/to the right of hexrow CC. To win, the Germans must have one or more Good Order non-crew MMC in the factory (hex G3).
The first thing I wanted to figure out was how to use the wagons to my advantage. They have eight MF and they can gallop for twelve. Include deducting one quarter to unload the infantry, then the wagons could cover six hexes or nine hexes and then unload, but using gallop comes with a risk; there is a wreck check if the wagon changes its CA. The top road is out of the question for the wagons on turn one. There will certainly be a partisan squad in hex U2 or T2. Even if it fails to damage the first wagon to go by, there would be residual that could hurt the follow-on wagons. Therefore, I planned to line them up on roads AA5 and AA7 and head towards the W8 area.
I worried about the intersection. I thought there might be a partisan with an LMG at level two in hex U3. That suspicion led me to use my AFV to try to put smoke to protect them.
There is a slight temptation for the Germans to send their AFV straight down the U1 road towards the British setup area, pull up adjacent to the wall and try to prevent the British from re-manning the empty tanks. I think the odds of that course of action being successful are slim because all three AFV are open topped and the partisans have molotov cocktails. Even if they reach the walled British area, the infantry there could fire at the exposed crews at some point before their HS try to enter the empty tanks.
My German setup was this:
Here is the setup of the British light aid detachment.
Here are the partisans.
My first turn went a little different than I expected. The 251/1 halftrack was the first to try for infantry smoke in the intersection. It failed and then unloaded its infantry next to building U2. Next, the 251/9 halftrack tried for the infantry smoke. It was successful. When I moved it out of the way of the coming wagons, however, I temporarily forgot about the HIP partisans. When it reached U9, a HIP partisan threw a molotov cocktail at it to burn it. I really hate making that sort of mistake; don’t we all. The appearance of that partisan squad in U8 limited how far my wagons could go without taking fire, so I unloaded some of them a little sooner than I had originally hoped and kept others loaded longer than I had originally hoped. I positioned the Marder to place smoke on hex U2. On the acquisition shot, I rolled eleven and “acquired” a Low Ammo counter.
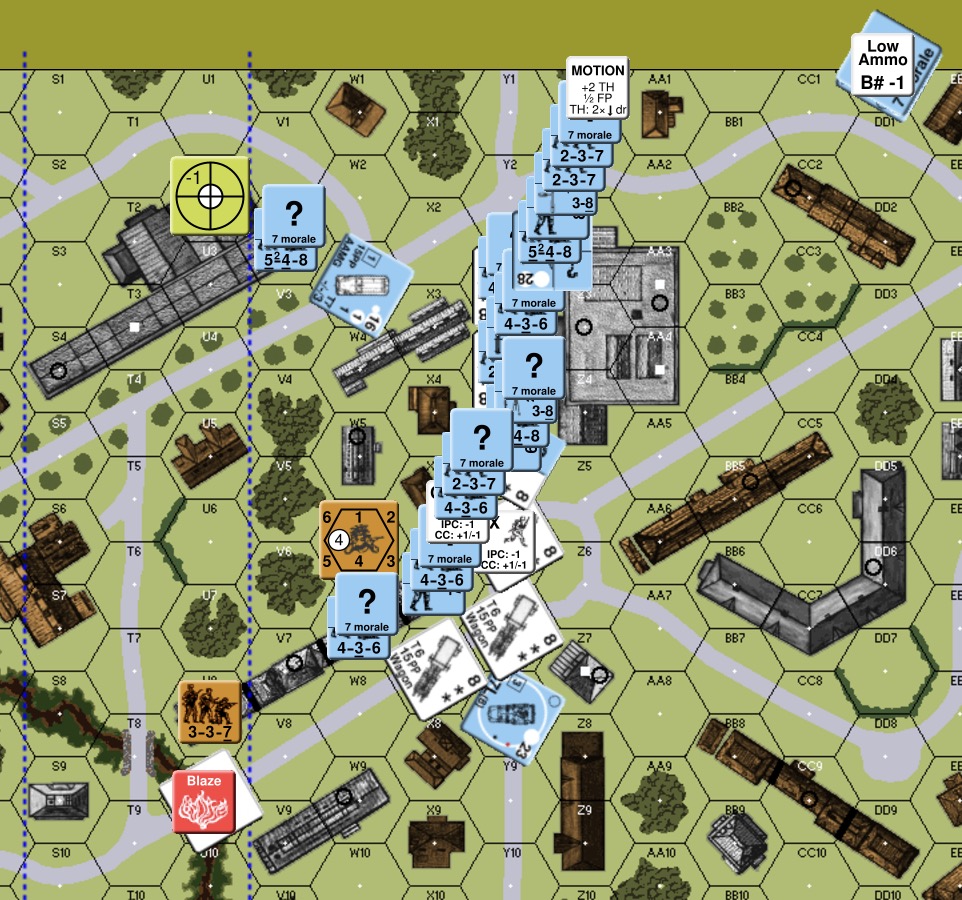
During British turn one, the HS manned the tanks and the squads spread out. No more partisans appeared and the single unit showing fell back.
The Marder put smoke on hex U2 in German turn two. No one else fired. The immediate task was to find and destroy the partisans. The 548 in building U2 found two partisan squads by searching. The partisans broke the OB-given captured German LMG on its first shot. The bulk of the Germans went for building U2, but some also went to the U8 rowhouse. I was able to force Upper Level Encirclement on some partisans.
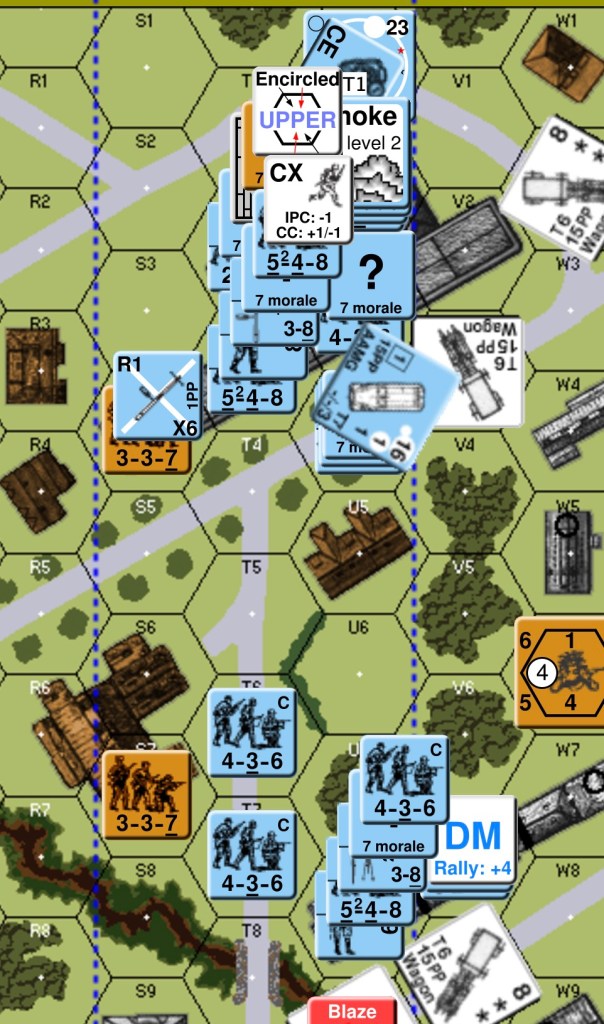
Following that turn, the tanks and some brave mechanics moved closer to the Germans while the visible partisans moved back. A German HS mopped up building U2 to find the last partisan squad in building U2 during turn three. Most Germans moved forward. The guys with the MMG headed for level two. I made a bad decision with the Marder; I used it to try to eliminate a broken partisan for FTR, but it needed to ESB to get there. It immobilized. On the bright side, it would scare any tanks from moving down the road it was on, but it was otherwise out of the game. The Germans were able to engage in close combat with two partisan squads in two locations. They eliminated one and CR’d the other. I chuckled to myself a bit, remembering the aftermath saying that the Germans “brushed aside” the partisans. It felt like a bigger job than that.
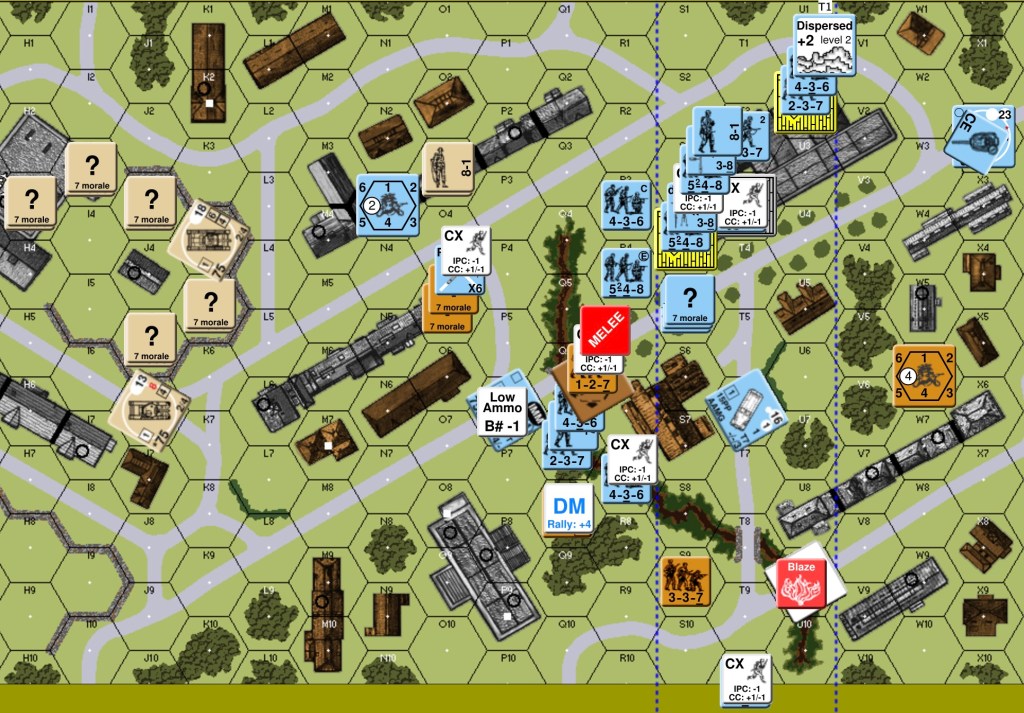
At the beginning of British three, a Sherman put WP on the German level two firebase. The British/partisans skulked and fell back. Even the partisan HS in CC was able to withdraw when the Germans rolled a twelve.
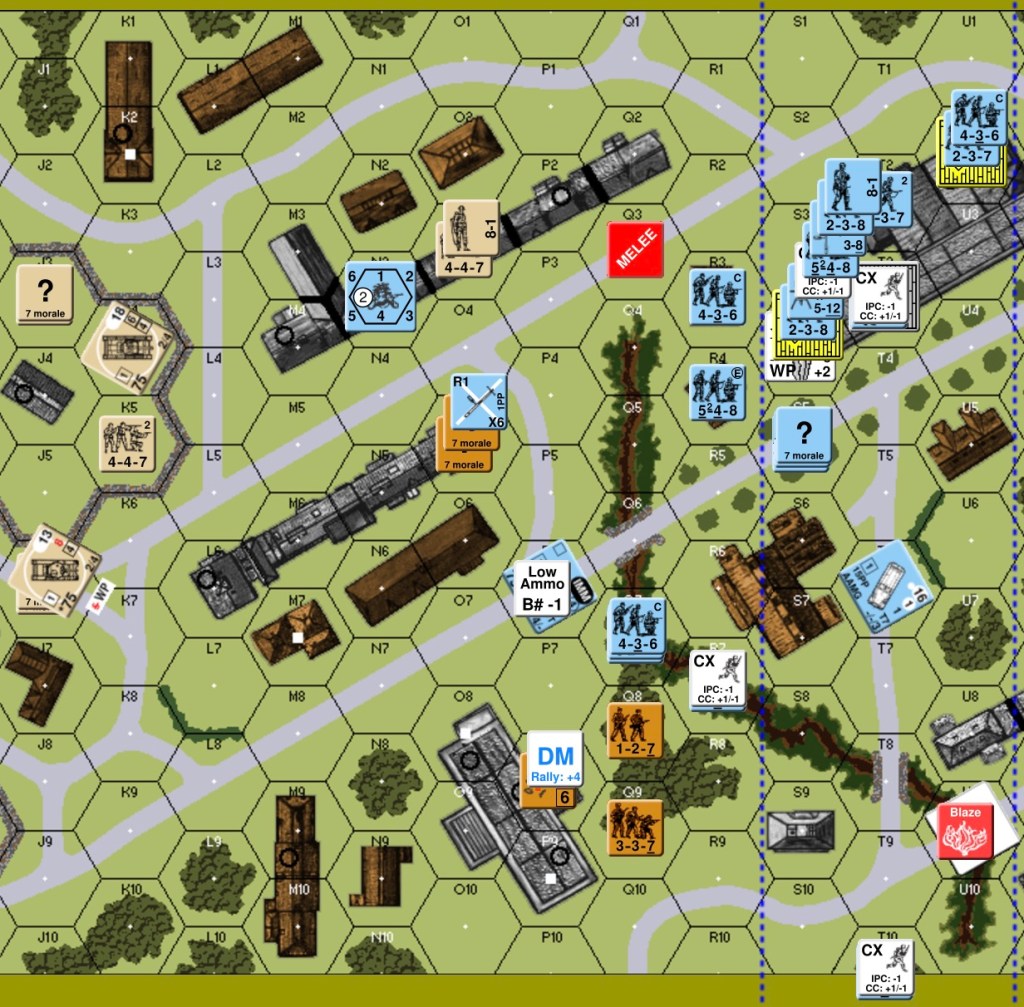
German turn four prep fire broke two partisan units and bounding fire from the Flak halftrack broke a third unit. The partisan sniper eliminated the German 8-1 leader. A lot of Germans moved forward.
During the allied fourth turn, the partisan sniper stunned the 251/1 halftrack. The last good order partisan went into CC against a German HS; it ended up stuck in melee. I think that was a mistake because the partisan squad could no longer fire at Germans trying to get by.
In German turn five, after two ineffective prep fires, a squad sacrificed itself to use up the British 447 defensive fire and open the way for others to push through. The Germans loaded a squad into the 251/1 and moved BU towards the British. I expected the Sherman to fire at it but my opponent thought the shot was not likely to hit. The Marder crew abandoned the tank and helped with CC in the adjacent melee, along with two HS. Only one Germans HS was eliminated in the melee.
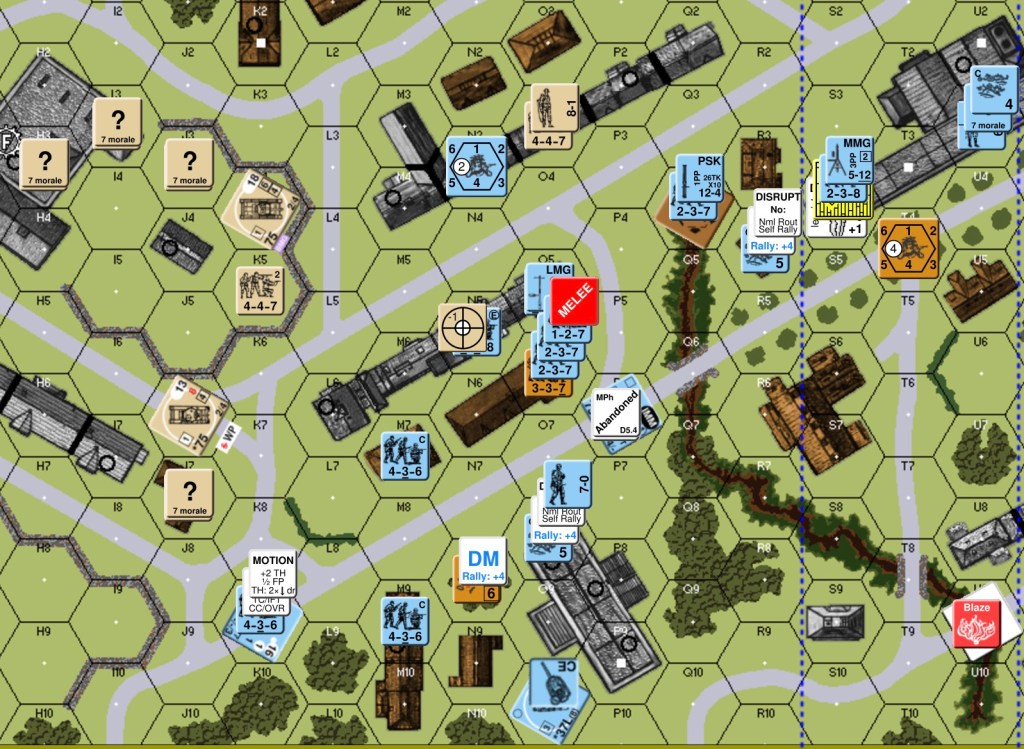
During the Allied turn, there was a lot of ineffective prep firing, followed by skulking and retreating towards the victory building. The German MMG, no longer shrouded by WP, casualty reduced a retreating squad and broke the surviving HS. The melee in O6 finished in the German favour. Finally, there are no more partisans.
German turn six saw a few ineffective prep fires since those troops needed to wait for the main mass to come forward. The 251/1 halftrack moved behind the victory building, but staying two hexes away to make CC more difficult for the British. In Final fire, Sherman fire broke a HS and pinned a squad in acquired hex L6. German advancing fire broke the 447 stacked with the 8-1 leader as well as the leader. In a sort of desperate move, some German units advanced into open ground to spread out and be able to fire PF at the tanks. I fully expected those units to be broken by enemy fire.
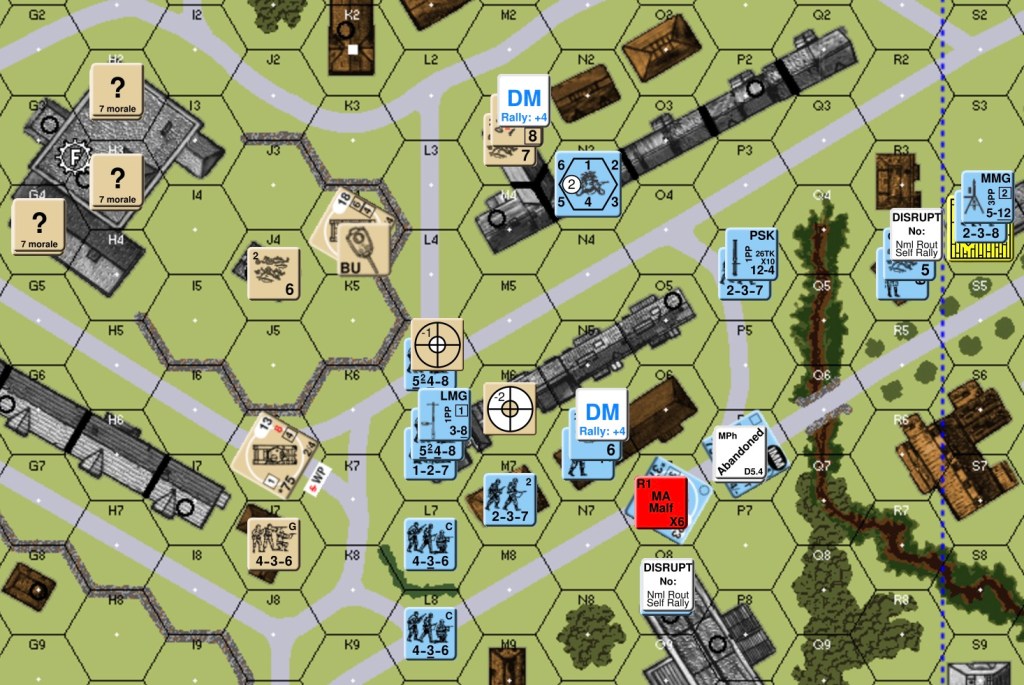
In the Allied turn, my opponent surprised me by not firing at those units. Instead, he tried to withdraw the front line units. The Sherman started in reverse. My conscript squad tried for a PF, failed, tried again, got one and burned the Sherman. The British squad next to the burning Sherman thought that the burning Sherman would give enough cover for it to use bypass. The Germans took several shots and broke it. The Cromwell started in reverse from behind a wall. The nearby 548 rolled for a PF, got it, then the TH DR was to high to hit. The 548 tried for a second PF, got it and the TH DR was a low enough number and a turret hit; another burning tank. That was an incredible sequence of events that seriously swung the scenario in the German’s favour.
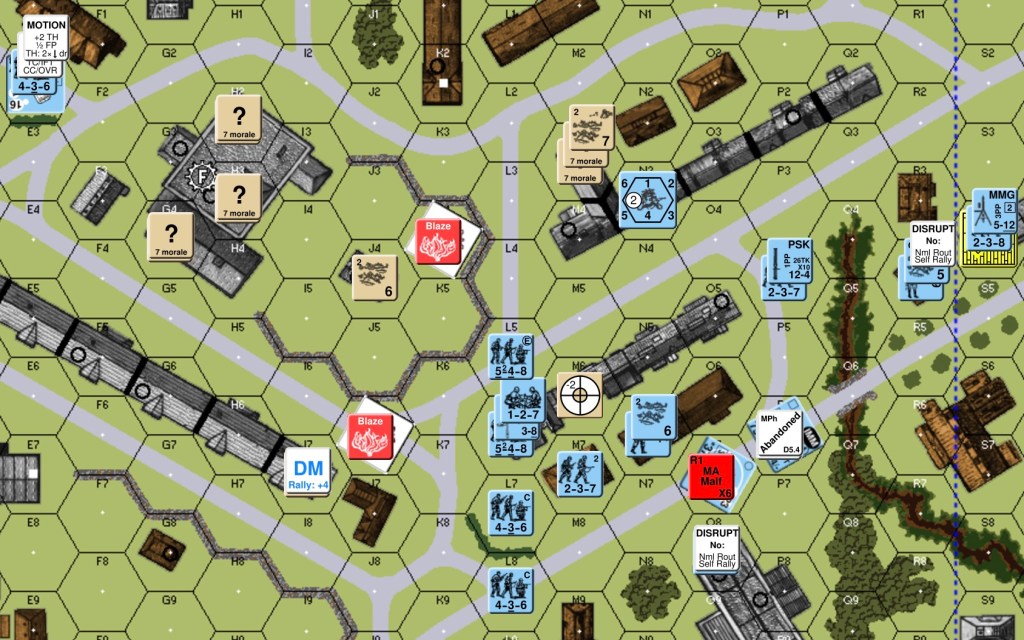
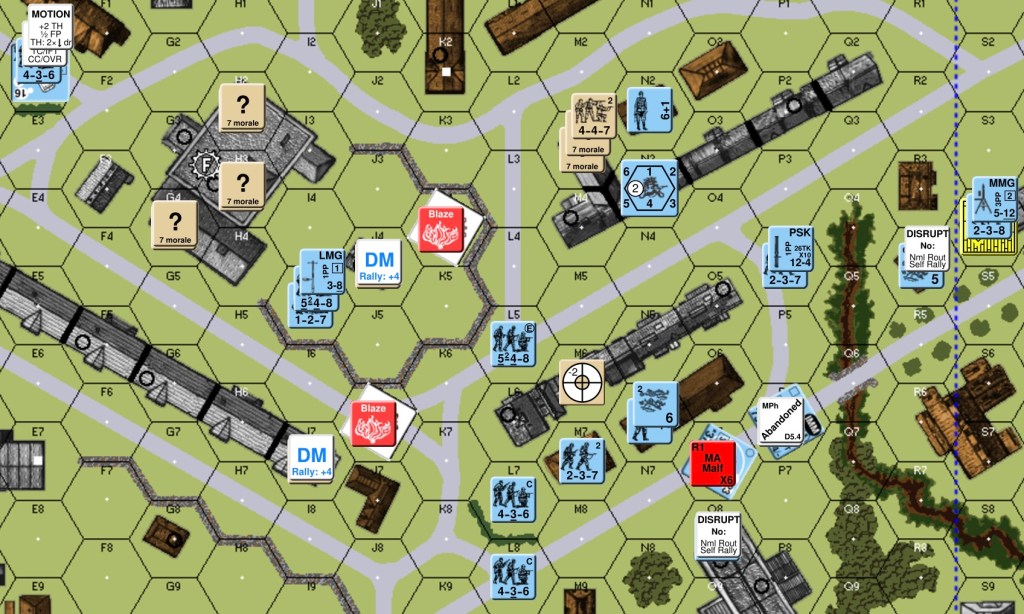
On the final German turn, their only choice was to move units towards the factory. I started with the walking ones. They moved adjacent to the factory and my opponent conceded. The only British unit on that side of the factory was a leader. After discussing the scenario for a bit, I reminded him that he could have deployed the two squads that he had in the factory to be able to cover more directions. I enjoyed playing the scenario; I would be willing to try the Allied side.
Discover more from Low Ammo
Subscribe to get the latest posts sent to your email.

